Water Marbled Nail Art Is This Summer's Funkiest Manicure Trend
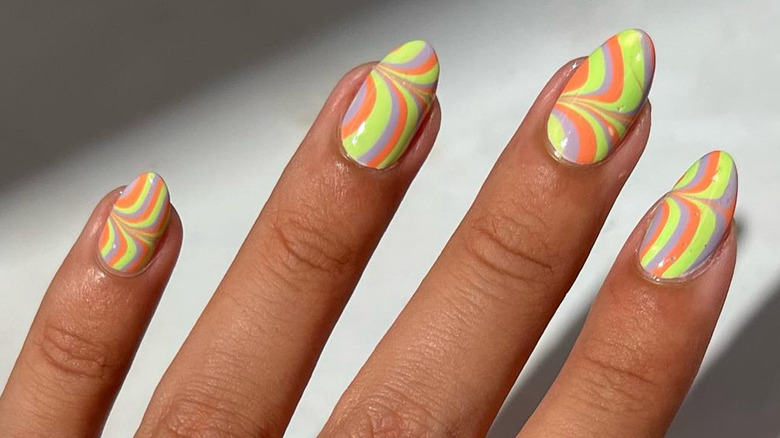
Striking back against the minimalist, "your nails but better" manicure trends that have become fashionable lately, like milk nails or glazed donut nails, the water marble nail trend embraces color again, and a mix of them. This resurfaced style isn't named after water because they give nails the wet look, but because it's created by swirling drops of nail polish into clear water to create a unique design. Perfect for summer, the best part about this nail trend is you can customize your colors to perfectly complement all your fabulous warm-weather looks. Whether you want your manicure to pop against an otherwise monochromatic 'fit, or you want to match your nails to your colorful outfit, water marble nails can do it all.
Since you've got little blank canvases at the end of each fingertip anyway, you might as well use them for beautiful, artistic designs. And it's even better and more appealing when a fancy new eye-popping style, like water marble nails, is easier to do than they seem.
Water marbled nails are easier to achieve than they look
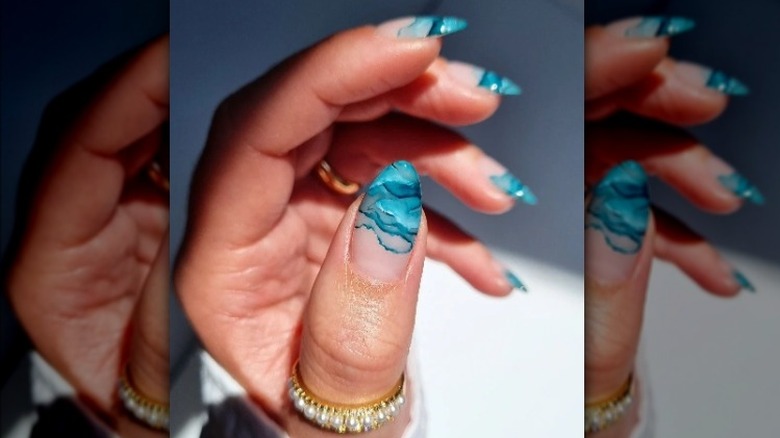
Water marble nail art looks dramatic and artistic, but happily, they're easier to achieve than they look. And with the variety of colors available, your choices for designs are endless. Use different shades of the same hue, or go for a mix of totally contrasting colors.
Prep your nails with a top coat and a neutral or white polish. Put lukewarm water into a shallow container and add a drop of the first color. As it spreads, drop the second color in its center. Similarly, drop the third color, and so on until you've got them all. Then take a toothpick and swirl the colors around in a pattern.
Once you have a design you like, dip your whole fingernail in the water. Don't worry about extra polish on your skin; that's part of the process in this messy manicure — though you can protect your skin by applying liquid latex or tape (even Scotch tape), around your fingernail first. Hold your finger there as the polish dries on the water's surface and remove the excess polish with the toothpick. Then carefully remove your finger. Use a Q-Tip or cotton swab dipped in nail polish remover to clean off the excess polish from your skin. Once everything looks to your satisfaction and the nail is completely dry, apply a top coat to protect the color.
Here's a method to create water marbling without water
If you'd like a slightly easier method of water marbling — that doesn't use water — here's an alternative application: Rather than a cup of water, use a metal palette or a plate to mix the colors together. Apply a clear polish or top coat onto the palette in three separate stripes. Then add your first shade of color below those three stripes, then your second color, and your third (and so on), in a column of stripes. Use a toothpick to blend the colors together. The result will be a cool fusion of marbled colors.
Prep your nails with a top coat, and then use an old eyeshadow brush to apply the blended polish. Scoop up some of the polish with the eyeshadow brush and paint it onto your wet nail. You can cover the whole nail, or use some negative space and only paint over part of the nail. Then when your nails are dry to the touch, add a quick-drying top coat to seal in the color. Don't fret if all your nails end up looking slightly different — part of the appeal of water-marbled nails is the inconsistency and uniqueness of each nail. Embrace the differences.