Our Best Tips For Getting The Most Out Of Your Curling Wand
Almost everyone who's used a curling wand (that's a curling iron without the clamp) before probably has a story of a less than successful attempt at giving their hair some curl. From creating an awkward kink in our locks to the hair sliding off the barrel, there are (unfortunately) so many ways using a curling wand can go south. And that's not just when it comes to the finished look. Not using your curling wand correctly can actually result in some seriously damaged locks, turning them into split end central.
But it doesn't have to be that way. Though any heat tool has a learning curve to master, everyone is capable of achieving amazing curls. Hey, we can't all be as lucky as Jennifer Lopez or Kim Kardashian with our ultimate hair master Chris Appleton on speed dial (but we can hope, right?) So we've compiled some of our very favorite tips and hacks to make sure we can all get the most out of our curling wands every single time.
Turn down the heat and your curl time
If you're finding your hair just won't hold curl or it looks frizzy and damaged after being curled, there could be a couple of reasons related to your curling wand routine. Always apply heat protectant before putting any kind of iron on your locks. This will coat your strands with a barrier so the wand doesn't totally fry your hair.
Since we're on the subject of heat, always be sure to select right temperature setting on your wand. As Aleasha Rivers, a Davines educator, told Real Simple, using a heat tool that's too hot for your hair thickness is a seriously bad idea. "[It] could cause the hair to shut its cuticle and therefore flatten itself, unable to hold a bend," she explained. Generally speaking, fine or damaged hair should curl somewhere between 180°F and 370°F, regular, healthy hair at between 375°F and 395°F, and thicker hair will probably need between 400°F and 420°F. But that's only if you have to, as over 400°F isn't recommended.
It's equally important to make sure your hair is bone dry before using your curling wand. Not only will trying to curl wet or damp hair not work, it'll fry your locks and cause some pretty serious damage. But even if you're careful about temperature, you'll still want to be cautious about how long your strands are on the wand. Ideally, your hair shouldn't be on the barrel for any longer than 10 seconds. Once you get past that point, you're opening up the risk for hair damage, which could jeopardize your ability to get great curls down the line.
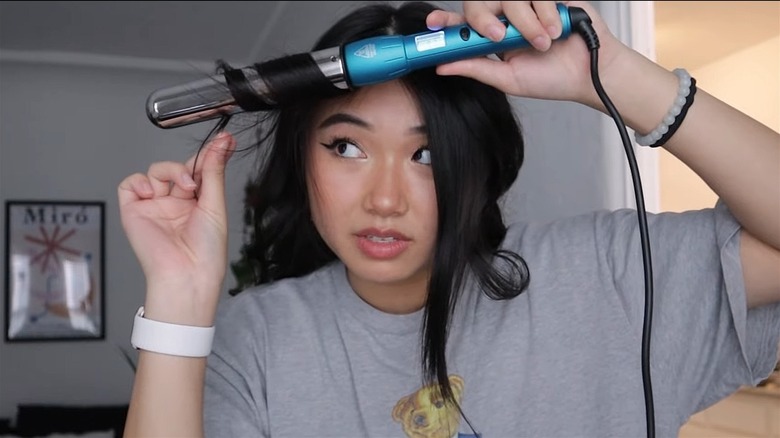
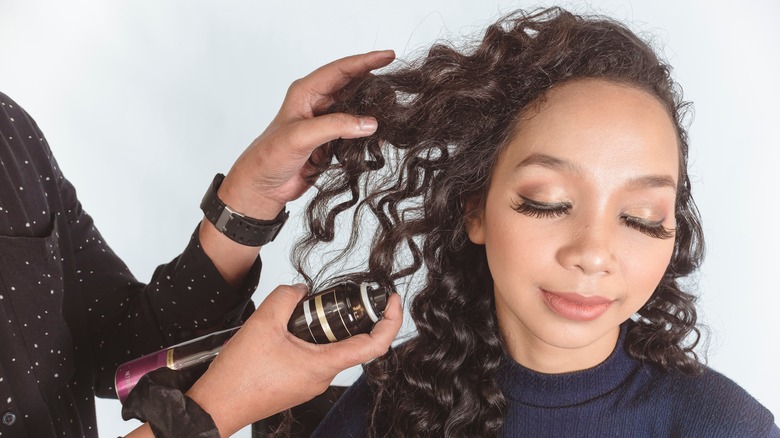
Be mindful of the direction you're curling your hair
The direction that you wrap your hair around a wand will greatly determine how the end result looks. If you're going for bombshell, face framing curls, curl your locks away from your face. This is the most flattering and modern way to curl hair and is the style seen on most celebrities. For a more vintage, old Hollywood feel, try wrapping your locks around the wand towards your face. Of course, you can even go somewhere in the middle and curl one side towards you and one away, but it's typically more flattering to have both sides match.
Looking for more volume? Try a mix of both. Curl a few two to three inch-wide sections near the front away from your face, but then alternate your curls behind them. The combination of the two will give your locks plenty of volume and texture, and give the curls a natural look.
In addition to the direction you're curling your tresses, it's also worth keeping an eye on how far down the hair you're curling. Wrapping the whole strand is the more traditional method — but you don't have to put every centimeter on the heat. "You can curl all the way to the ends of your hair, or you can leave the ends out for a beachy look," celebrity hairstylist Matilde Campos told Good Housekeeping.
And always hold your curling wand the optimum way
Unlike a curling iron, which uses a clamp to hold hair in place as it receives heat, a wand requires more hands-on action. You have to use one hand to hold the wand, and use the other to wrap the hair around the barrel and hold it in place. This also means the angle you hold it can have a significant impact on your end result. If you hold your tool at a horizontal angle to your head while curling, you'll be left with tighter, ringlet style curls. Holding it horizontally will also give you more volume from the root (which is where most of us fall flat — pun intended), while holding it vertically to your head will produce a looser curl.
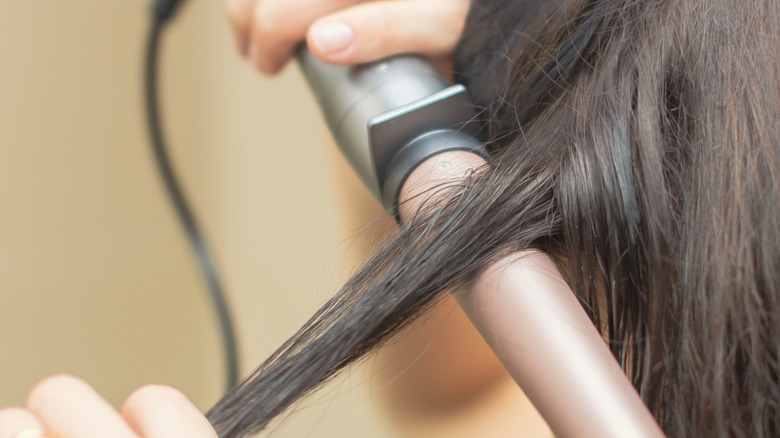
But it's not just your wand position that matters, either. When you're wrapping your locks around the barrel, make sure each section of hair, lays flat, like a ribbon and isn't twisted or knotted. Twisted strands won't give you a uniform curl because each individual hair won't heat up at the same rate. In some cases, twisted sections may not even curl at all.
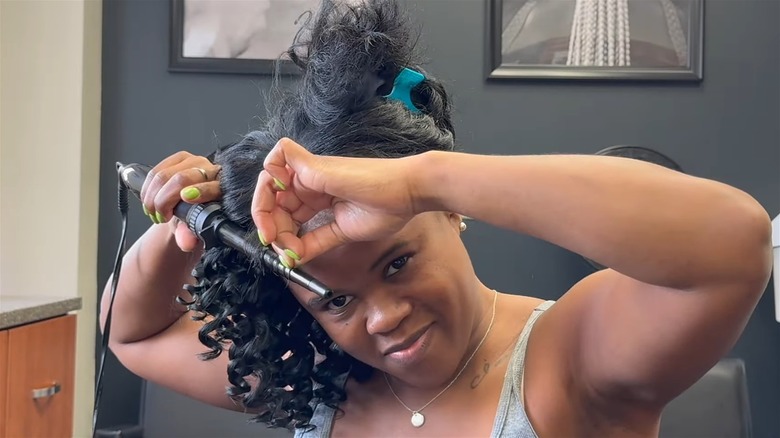
Section your hair to get the best results

We've all been guilty of wrapping a massive chunk of hair around a 1-inch curling wand barrel in a hurry, but that's really not the way to get the best results. In fact, you'll probably make more mistakes will your curled strands all mixed in and frizzy. Instead, separate your hair into sections to allow each piece of hair to achieve proper curl definition. As a general rule of thumb, a smaller barrel will work better with less hair wrapped around it, while a larger barrel will be able to handle larger sections.
How many sections and how much hair goes into each section will depend on the look you're going for, however, smaller sections can help you achieve tighter curls. The other thing to consider is the direct of the sections. "If you want volume, you're going to take a horizontal section and curl while lifting from the root," Hairstylist and GHD head of education and training told Self. "But if you want a wavy look, use a vertical section."
To make sure your hair all blends together, try giving your curled locks a comb through with a wide tooth comb and run your fingers through it to the ends. Along with loosening your curls, this will prevent them from looking too 'piece-y' and preserve the style for longer. Just wait until the hair is properly cool before combing through so you don't comb out the curls.
Use the right products to aid your curling wand
Though a curling wand will do the majority of the work, achieving perfect curls still requires some effort, especially if you have hair that doesn't naturally hold a style. In addition to applying a heat protectant, consider adding a volumizing mousse or a smoothing product if you struggle with hair becoming dry or frizzy from styling.
Then there's hairspray, which will hold all your hard work in place for much longer. However, the strength you go for will be dependent on your hair type and how long you want your curls to stay. Those who want a looser effect may benefit from movable hair spray, while those who want their ringlets to last will benefit from a firm hold spray. As hairstylist at Live True, London Valerie Maine, shared with Real Simple, whatever you do, make sure you're going for a dry formula spray. Anything too wet might be too heavy for the curl and could potentially drag it down. You can usually tell dry products because they'll have labels like 'dry texturizing' or 'dry volume' on them. No matter what products you're using though, always clean your hair tool after to avoid a build-up on the barrel.
What works best for you though may take some time to figure out — and that's okay! "Trial and error works best here, so try with a product and then without; you'll see what your hair reacts best to. It's not super common, but some hair actually reacts better with no product at all!" Steph Stevenson, celebrity hairstylist and HNB Salon founder, told Real Simple.