Here's Exactly What Order You Should Apply Your Makeup Products In
In the last decade alone, makeup trends and application techniques have evolved drastically. From the bold brows and insta-glam of the late 2010s to dewy skin and soft contouring of today, the cosmetic landscape is ever-changing. But with all these new products, it can be confusing to know how to apply your makeup in a way that produces beautiful, long-lasting results. Celebrity makeup artist Jamie Greenberg tells The Zoe Report that order of product application affects both how products perform individually as well as how they interact with each other and layer on the face. Alas, the order in which you apply your products can drastically affect your look and its longevity.
When you put your makeup products on in the correct order, you will not only have an easier time applying each product, but your final look will more closely resemble your vision. Plus, who doesn't want a flawless look that lasts all day (or night)?
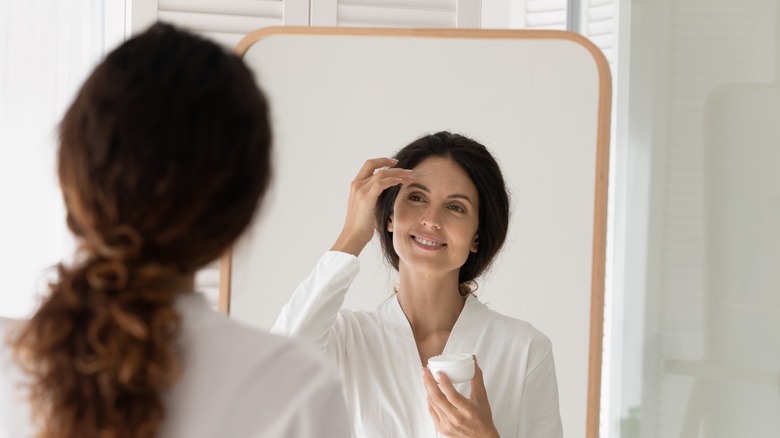
It always starts with solid skincare and SPF
If the only way you're prepping your skin for makeup is with primer, you're doing it wrong. Or at least that's according to makeup expert XTHUYLE. The Tiktok beauty aficionado says that the best primer is actually good skincare routine, going as far as to say you should be prepping your skin from the night before you plan to wear makeup. For everyday makeup folks, this means your nighttime routine should focus on thoroughly removing makeup you've worn throughout the day and exfoliating. Exfoliation will remove dead skin cells that would otherwise leave a bumpy makeup look.
Closer to makeup application time, you should cleanse, hydrate and moisturize your face. This will ensure the product layers evenly onto your face. This will also prevent makeup from caking and highlighting features that you don't want to stand out as the day progresses, like blemishes or sebaceous filaments.
The last step before applying makeup is to lather on a good SPF. Even if your makeup products include SPF, they are no substitute for an actual sunscreen. Cosmetics like foundation typically include only small amounts of UV protection, so an individual sunscreen step is key. Truth be told, SPF should be included in a skincare routine everyday, regardless of if you're wearing makeup or not.
Prime before you paint

Once you've cleansed, hydrated, and put on your UV protection, the time is prime for primer. Medical esthetician and skincare expert Maja explains primer is designed to create a physical barrier between your actual skin and makeup so the product doesn't clog your pores. It also reduces the appearance of bumps and any roughness in skin texture.
Primer also smooths the overall skin texture, creating a flat base for seamless application of makeup. Without primer, makeup alone may accentuate the appearance of pores, bumps, or other imperfections. Lastly, primer will increase the longevity of your makeup look. Think about when you paint your house. You paint a primer coat, so that your pigmented coat can better stick to your walls. In the same way, a makeup primer will better help foundation and other makeup products adhere to your skin.
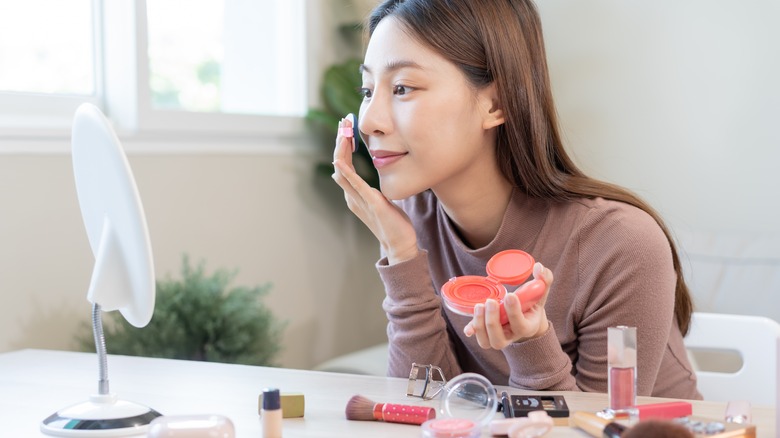
Next up, color corrector

If you do a quick search to find out when you should apply your color corrector, you're probably finding mixed results. Our verdict is that color corrector goes on after primer, but before foundation.
Professional makeup artist Jaleesa Jaikaran explains that this is the most economical way to order your makeup. Some folks will put on foundation and then color correct. However, color is more effective than foundation at canceling out discoloration and dullness. If you start with foundation, you may inadvertently apply too much product in an attempt to hide unwanted tones, whereas a little bit of color corrector would have done the same trick. Applying an efficient color corrector before foundation allows you to save on product.
A two-in-one color correcting primer might save you a step if you have a lot of areas on your face you want to color correct. But, for those who only use a little product for spot correction, using a separate primer and color corrector can help you save money and avoid overcorrecting, since a two-in-one would need to be applied all over the face.
Eye makeup... it depends
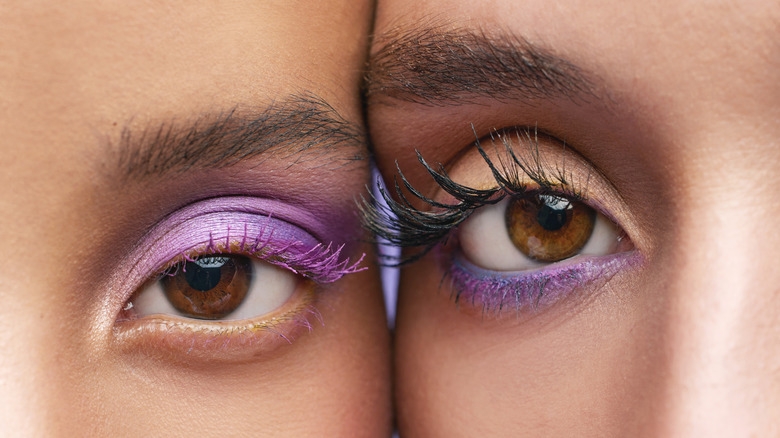
Just like the debate over color corrector, there seems to be a lack of consensus on whether to apply eye makeup before or after foundation. On the one hand, having your face makeup done first can help you visualize how everything will look together. On the other hand, if you've ever had heavily pigmented eyeshadow powder fall onto your freshly-baked face, you know it's not easy to remove without messing up your base layers. This is probably why makeup guru Bobbi Brown tells Katie Couric Media that unless you're wearing a very intricate eye look, prepping your face first is the way to go. Always start by using a designated eye primer. This will make sure the product locks into place, while also giving it a smooth canvas. (If you have oily eyelids, mattifying primers can do wonders for making the pigments in your shadows pop. Wait at least sixty seconds before applying powder or cream shadow to ensure the primer is set.
Liquids: Foundation, then concealer
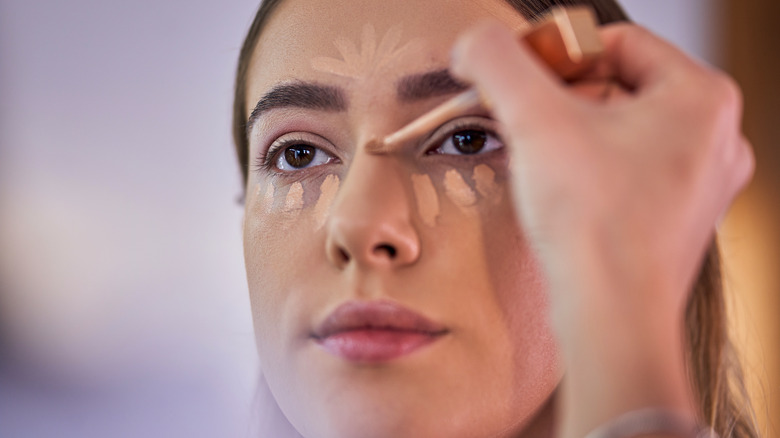
Whether you're painting on your eyes or your face, there is one cardinal rule when it comes to applying your face bases: liquids, creams, and then powders. This order will allow for the best absorption and layering onto your skin.
Liquid products typically include foundation and concealer. When it comes to these, makeup & beauty expert Julia Rosemond advises the economical decision is to apply a foundation first, and then follow up with a concealer. Since foundations provide better coverage than concealer, this order will permit you to use concealer only on spots that remain needing to be corrected. Just like color-correcting before foundation, this will save you lots of product. If you apply concealer first and then foundation, you may overuse concealer since you don't know how much your foundation will cover. As well, applying foundation on concealer sometimes lifts concealer off, undoing the effort of concealing beforehand.
Shape and sculpt with creams
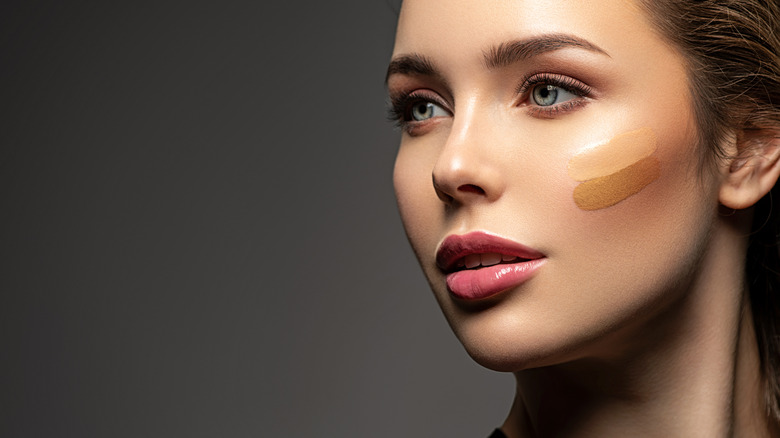
Once you have laid on your canvas using your liquid products, it is time for the creams. These generally include products that you use to sculpt and shape your face – think contour, bronzer, highlight, and blush.
Creams tend to be more dense and viscous than liquids, which is why applying liquids under creams will create the most seamless looks. Applying liquids on top of creams may not allow liquid products to absorb and blend properly into your skin. This also goes for liquid highlighters. That's right – even though it may seem counterintuitive and the more difficult method of application, apply liquid highlights before a cream bronzer for best results.
On the average day, not everyone might use a contour, bronzer, highlight, and blush combo. Whether you only use bronzer and highlight, only blush and bronzer, or all four, ensure your creams lay on top of liquids to avoid unblended patches.
Pack in the powders

Some makeup artists apply their contour, bronzer, highlight and blush all at the same time and then blend. If all of these products are made of the same base, this could work for you, given that thrse products are typically applied in distinct locations on the face. In fact, this may even allow for more seamless blending. However, if some of your products are creams, others are powders, and others are liquids, simultaneously application and blending will be ineffective.
If you use powders for any of your contour, bronzer, highlight, or blush products, always apply them last. Powders lay on top of the skin, without actually blending into it. If you were to apply a cream or liquid blush, for example, on top of a powder, it would have a harder time blending in. It may just end up sitting on top of the powder, creating a patchy, or even cakey appearance. Plus, no one wants clown cheeks.
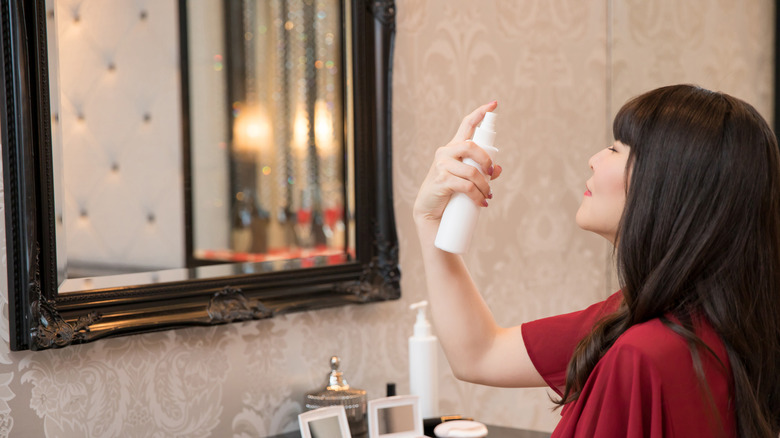
Set with a setting spray

Once you've completed your face and eye makeup, go in with a setting spray to meld your makeup together so that it looks natural. TikTok makeup expert Ale Jay explains the purpose of setting spray is to help make all the different compositions of your makeup products come together as one. She mentions that individuals usually miss out on this step altogether as they confuse it for finishing spray. In actuality, they are two entirely different products with different purposes. Many setting sprays contain oils that lock makeup in place; preventing products like eyeshadow from breaking up on your face. This step is essential for preventing any potential creasing, smearing, or smudging throughout the day caused by sweat or any other activities.
Pull the look together with lips
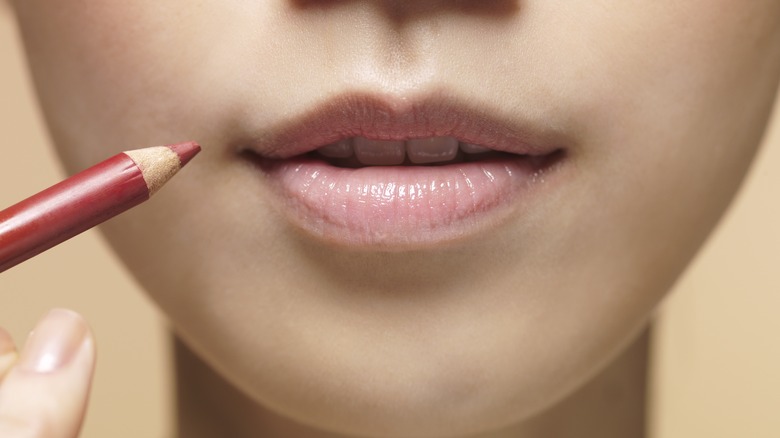
Everyone likes to do their lips differently. Some prefer just a gloss, some prefer a full liner, color, and gloss combo. Regardless of if you're going for a color-popping look or a soft neutral lip, you'll need to do these things.
Exfoliate, hydrate, and moisturize your lips to avoid flakiness from dead skin cells. The skin on your lips renews more often than the skin on other parts of your face, so is more prone to flaking. Not to mention, it's one of the first skin areas to chap in cold, dry weather. After exfoliating, apply a moisturizing product. A lip balm or oil will help to hydrate and moisturize. Moisturizing can help reduce the appearance of wrinkles and lines. Exfoliation and moisturization are key for a soft supple lip that will either stand on its own or as a base for pigment.
If you're using a liner to define, now is the time. Then, fill your lips in with your color stick of choice and add a gloss if you prefer a shiny finish.
Wrap up with a finishing spray
Last, but not least, if you want your look to last all day, use a finishing spray. Tiktok expert Ale Jay explains that unlike a setting spray, finishing spray actually locks your makeup into place. There are different types of finishing sprays that you can use depending on your desired aesthetic. For example, you can use a more hydrating spray for a dewy finish or a drier spray for a matte finish.
Now, a finishing spray may not be necessary all the time, especially if you're not following all these steps. In fact, Bobbi Brown tells Katie Couric Media that she usually opts to do less makeup steps on the average day to save time. Finishing sprays are most helpful when going for full-glam looks.
Touch up throughout the day
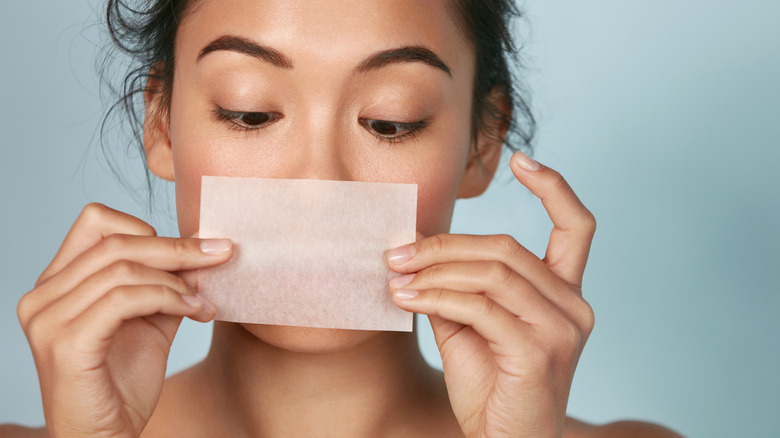
Beauty Director Myiesha tells Sephora that even if you do everything to apply your makeup correctly, you'll still require touch-ups to keep it looking fresh all day. She shares her top touch-up tips and techniques that are easy to implement on the go.
For unwanted shine, use blotting sheets to remove sweat, oil and sebum buildup. Follow up with a blotting powder using a clean blotter. Make sure it's clean so that you don't re-introduce oils to areas you've just blotted. If your makeup starts to look cakey or patchy, use a light setting powder on just the areas that need it. If discoloration begins to peek through, for example on your under eye area, a little concealer goes a long way. She also adds that keeping your blush and lipstick on your person is handy as those are the products that tend to wipe or rub off the easiest. Keeping these products on you for touch-ups throughout the day will keep your makeup looking finished until you get back home.