Our Best Tips For Keeping Your Handy Dry Brush Clean

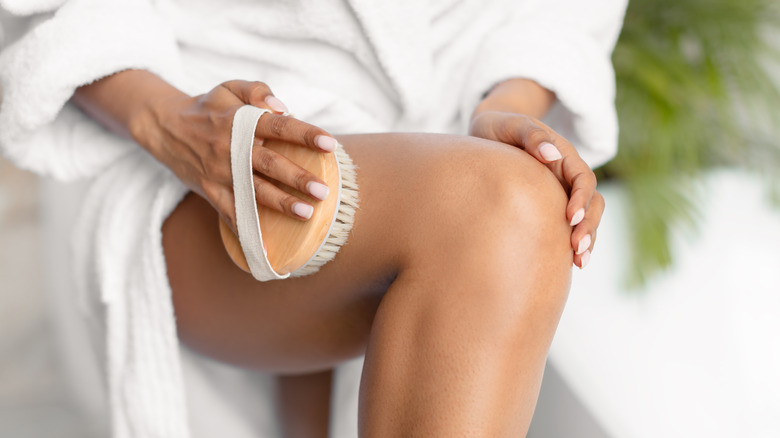
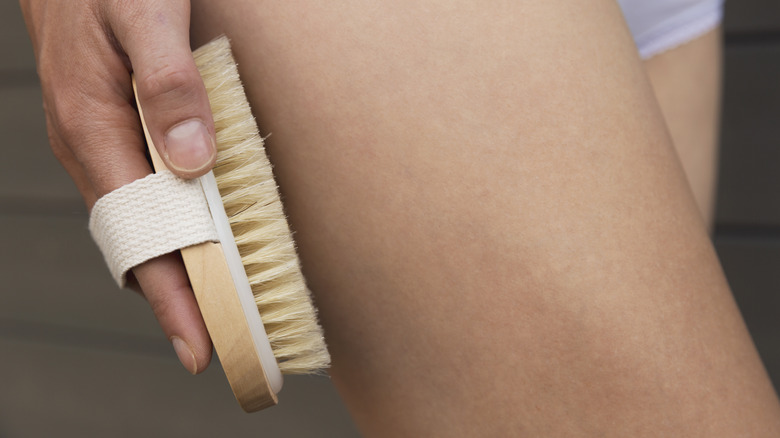
If you're here, you'll probably already know all about the benefits dry brushing can bring to your life. And, boy, are there plenty. So many in fact that it's always worth reminding ourselves. But let's start right at the very beginning with a refresher on what dry brushing actually is. This practice (which has been around for thousands of years, by the way) involves taking a large dry (of course) bristled brush and buffing it all over the skin in small circles.
There are a number of reasons why it's thought to be so good for you, including boosting circulation and energizing the body. That's because it encourages a healthy blood flow around the body. Dry brushing has also proven to be great for exfoliation. The bristles on dry brushes tend to have some stiffness to them, and coupled with the circular buffing motion it's recommended you use, it can remove dead and dry skin patches in no time.
It's no surprise then that so many celebrities are hooked. Just one of the famous faces singing the praises of dry brushing? None other than the health queen herself, Gwyneth Paltrow. "The bristles feel so good on my skin. There's nothing like it," she admitted to her own health and lifestyle brand, Goop. But, as with anything going on (or in for that matter) your body, it's super important to practice proper hygiene to keep yourself safe. And we have a few top tips for keeping your dry brush sanitary.
Store your dry brush in a cool, dry place
It goes without saying that you don't want your dry brush to be stored anywhere cold or damp. Especially after giving it a proper wash. That's because if it's not left somewhere it can dry properly with adequate airflow, you're inviting nasty bacteria to multiply on the bristles, which is absolutely not what you want with something you're going to put directly onto your skin.
When it comes to storing your dry brush away until next time, we'd suggest leaving it upright with the bristles facing upwards. That way, they're less likely to come into contact with any germs that may be on the surface and will keep their shape better. Once you're sure it's dry (always make sure your brush is bone dry before putting it away anywhere!) it's a good idea to keep it in a cupboard or draw so it's less likely to gather dust or germs.
Decide if you're doing a light clean or a deep clean

Knowing if you're going for a more everyday light clean or a full-on deep clean of your dry brush will help a lot with your washing technique. If you're looking for something a little quicker and not so heavy, put the bristles directly under running water and move your finger over the bristles so the water can get into the crevices. Then shake off any excess water (don't rub the bristles as it may ruin their shape) before giving the handle a dry using a standard towel. How often you want to use this method will depend on how much you use your brush, but it's a good habit to get into after one or two uses.
Every couple of weeks though, you should give your dry brush a deep clean to keep it at its best. Fill a bowl with warm water to around the height of the bristles, then add a teaspoon of your favorite mild soap. Baby shampoo or makeup brush wash is great for this. It's then time to place your dry brush in the water, bristles down. After a five-minute soak, wipe away any dirt and clear out the dirty water, replacing it with clean. This time, give the brush a swill around in the water with the bristles down until it's clean (repeat this step as necessary). Remove the brush and shake it gently until the excess water is gone.
And there's a simpler way to keep your dry brush clean

If you don't have time to even give your dry brush a quicker light clean, there's another way you can keep it fresher for longer after use. It's recommended you spritz some tea tree solution (which is one part tea tree oil to two parts water) onto the bristles to keep bacteria at bay. It's a good idea to use this in addition to the other cleaning methods though, don't just rely on tea tree solution to permanently clean your brush. After all, your brush can never be too clean. If tea tree oil isn't for you though, then why not try a little rubbing alcohol instead? This can be gently rubbed over the bristles to fight off bacteria, or you can even dip them in a shallow dish filled with the antibacterial liquid to kill any germs.
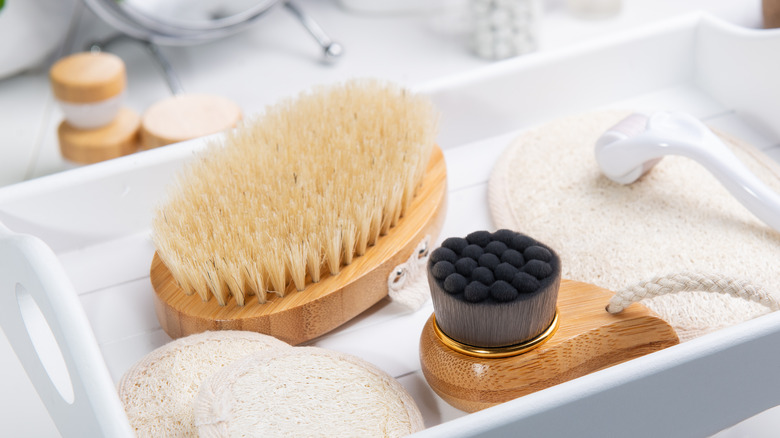
Just remember though that different materials on your brush could have different needs. Some dry brushes are made from synthetic materials, others are made from natural fibers. Some brushes contain boar bristles and others are made by things like cactus bristles. It's always a good idea to check the care label to determine what's best for cleaning your specific product.
Keep the wooden part as dry as you can
Though it's important to wash all of your dry brush to keep bacteria to a minimum, if yours has a wooden element, you don't ever want that part to get too wet. When washing it in soapy water, try not to soak the wood. Instead, give it a quicker wipeover. Then, as soon as you've finished wiping it down, it's important the wooden part in particular dries properly. If this part stays wet too long (especially if it's in a cold, damp place) it can quickly become moldy and/or develop a stale stench. That's why you should really try to never put your brush away while any part of it is still wet.
If you notice your brush is giving off a different smell, looks a little discolored, or the bristles are starting to lose their shape, then it's time to get a new dry brush in your life. If you're ever unsure if it's still safe to use, it's always best to err on the side of caution and replace it to avoid any potential skin infections. After all, too stiff or contaminated bristles can actually cause irritation on the skin.
Hang it out to dry (if you can)
We'd always recommend letting your dry brush hang with the bristles facing down when it comes time to dry it after a wash. Not only will this help it dry quicker and in a more thorough fashion, but it will also stop the bristles from getting misshapen. Somewhere where there's no moisture, a good amount of airflow, and room for the excess water to drip from the brush is the perfect environment for a clean dry. That's why hanging it out on the laundry line is a great option (if you have one, of course). If your brush has a hand strap, simply thread it on the line or use a clothespin to secure it. Around five to 10 minutes in the sunshine will be enough to get rid of any lingering bacteria — but make sure you don't leave your brush in direct sunlight any longer than that. Too long in the sun can result in a number of issues, including discoloration and stiffened bristles.
Don't have the resources to hang your brush outside, though? That's okay! Another way to dry it after a wash is via a blow dryer. Hold the hair tool a few inches away from the brush on low to medium heat for a few minutes so you don't fry the bristles or damage the outside of the product. And there you have it. A good as-new dry brush!