Our Best Tips For Removing Acrylic Nails At Home
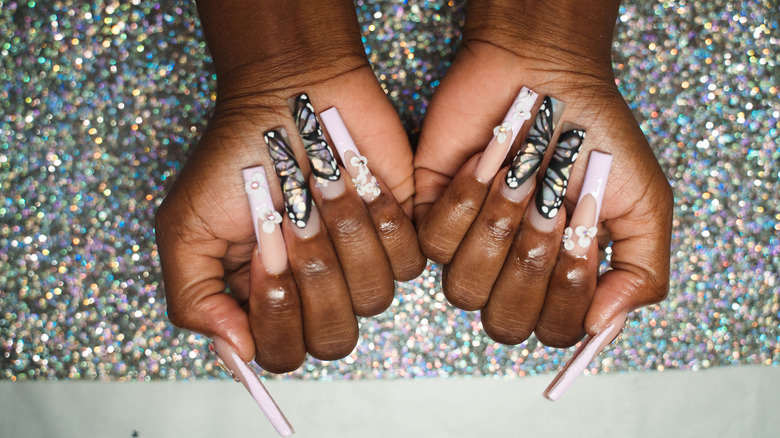
Acrylic nails are fantastic. Not only do they give length to those who wouldn't have it otherwise and help put an end to nail-biting, but with all that additional nail space, it gives people the opportunity to get really creative. "[Acrylic nails] are incredibly versatile and can be used for nail art, sculpting extreme lengths, experimenting with shapes, covering broken nails, and accommodating a wide range of styles," nail technician Dylana Do told Real Simple.
But as fun as acrylic nails are, they also require quite a bit of upkeep. You only have two to three weeks tops before you need to go to the salon and have them filled in if you want to keep them looking fresh. Depending on one's schedule, this can be a hassle.
Although one should know what they're getting into when it comes to acrylic nails, sometimes life gets in the way and you're forced to take matters into your own hands and remove them at home. Granted, this isn't is the best option, but sometimes it's necessary. Should you find yourself in a predicament where you need to remove your acrylic nails on your own, it can definitely be done. It's just going to require nail clippers, a very coarse file, 70-proof (or higher!) acetone, and loads of patience.
Clean, clip, and file
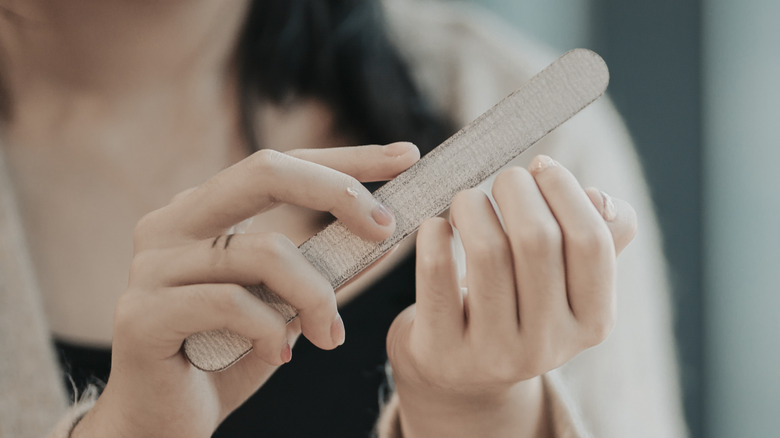
Before you even start this process, make sure your hands are clean and that you have everything you need, so you don't have to go looking for anything halfway through. Next, clip your nails to be as short as possible — the more you clip, the better, because you'll have less acrylic to deal with.
"Avoid cutting the nail all in one go, like you would a natural nail," manicurist Adriana Gutierrez told Byrdie. "Doing this will make the acrylic crack in the middle." Even if you're trying to remove as much as possible, you still don't want to create a crack, as it can make the removal process more complicated and potentially compromise the integrity of the nail. "Clip starting at one side of the nail," said Gutierrez. "Once you've made your initial cut, repeat on the other side. Repeat back and forth until you have met your cuts in the middle and the tip is completely off."
At this point, if there's polish remaining, remove it. Regular polish only needs a regular remover, while gel polish is going to need to be filed off. For this, you're going to want a very coarse emory board so it doesn't take hours and hours.
Soak your acrylics in acetone
When it comes time to remove the actual acrylic nail, you have two options. First, you can pour the 70-proof acetone in a bowl and place your fingers in it. This technique takes about 20 to 30 minutes, but you can speed up the process a little bit. "While your fingers are submerged, use your thumbs to rub the other four fingers — it helps break down the product faster," nail artist Ashlie Johnson told Allure.
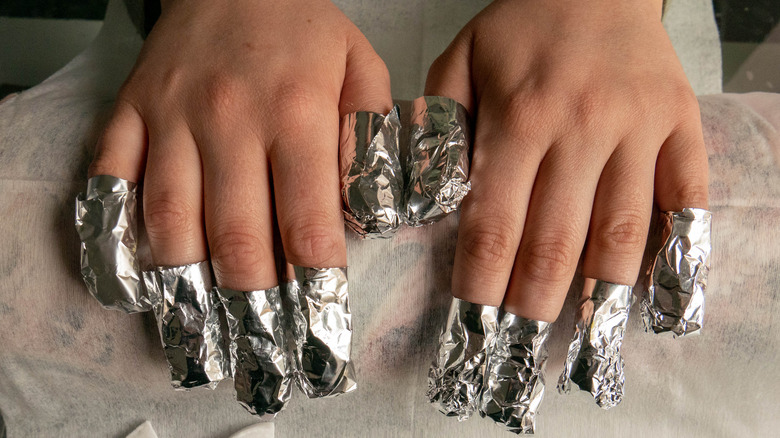
Your second option doesn't take as long, but it's also a little tricky to pull off when you're doing this alone. Like they do when removing a hard gel manicure at the salon, take a piece of a cotton ball, dip it in the acetone, then place it on the center of the nail. Next, wrap your nail in tinfoil to not only keep the soaked cotton ball in place, but to limit the amount of acetone fumes. When the acrylic becomes soft enough, you can gently remove it. Do not, under any circumstances, try to force the removal of an acrylic nail that isn't ready; it will damage the natural nail.
Once there are no traces of the acrylic left, wash and moisturize your hands, then give your nails a proper slugging to inject some of the hydration that was lost during the removal process back into the nail. Et voilà! You've successfully removed your acrylic nails.