Aura Nails Are The Hottest Manicure Trend For Fall 2023
>
By CHRISTIANA MAIMONE
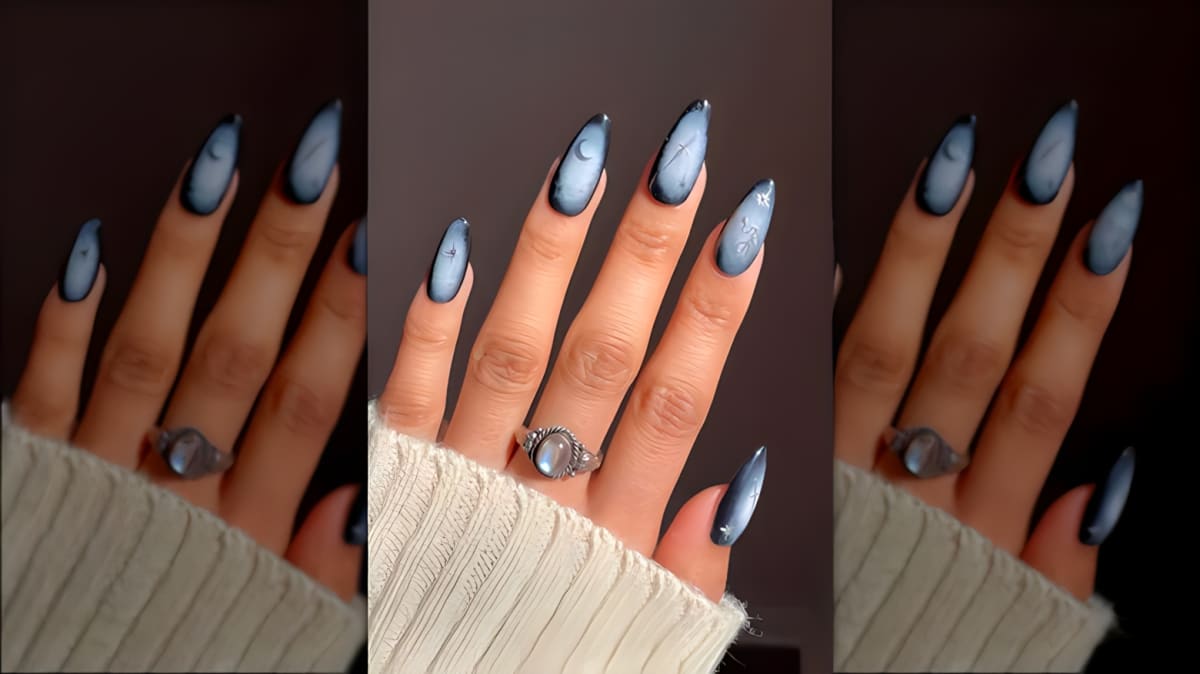
For this manicure, people often go for a solid background and then choose a darker or lighter color for the aura. You can go with any color combination — just make sure they pop.
Necessary tools include blooming gel or a makeup sponge, a base coat, polish, a dotting tool, and a top coat. Remember to cure your nails if you use gel.
Tools
First, apply a base coat to help the polish adhere. Paint a solid coat of polish on each nail to create a background for your aura and allow it to dry.
Base & Polish
Apply clear blooming gel on top of your solid base, but don't let it dry; the gel works its magic while it's still wet. Use a dotting tool to apply the second color.
Method 1
Place the color in the center of the nail and give it enough room to spread out. For short nails, a small dot will do, but for longer nails, make an oval shape.
On your makeup sponge, paint the color of your aura in a small circle. Dab the sponge on the center of each nail until you get a gradient, aura effect.
Method 2
You can also use a beauty blender by painting the pointy end and dabbing it on the nail. This will create a nice circular shape to create your aura effect.
With the aura nails painted, leave them to dry or cure under UV or LED light. You’ll need to apply a top coat to seal everything in and make it last as long as possible.
Top Coat