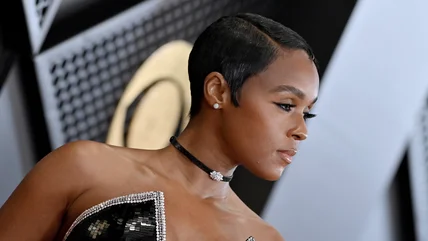
5 Iconic Celebrity Buzzcuts That Will Convince You To Shave Your Hair
If you're wondering what to do with your hair, a buzzcut may be the reset you need. You'll turn heads and reap the empowerment that comes with it.
Read MoreIf you're wondering what to do with your hair, a buzzcut may be the reset you need. You'll turn heads and reap the empowerment that comes with it.
Read MoreWhile a hug is comforting to some, it can be anxiety-inducing for others. Here's the science behind why some people may be averse to a physical embrace.
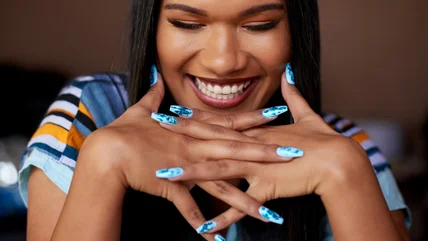
Read MoreEven if you prefer traditional nail polish over a gel manicure, there are several steps you can take to keep those pesky chips at bay.
Read MoreWhile a hug is comforting to some, it can be anxiety-inducing for others. Here's the science behind why some people may be averse to a physical embrace.
Read MoreEven if you prefer traditional nail polish over a gel manicure, there are several steps you can take to keep those pesky chips at bay.
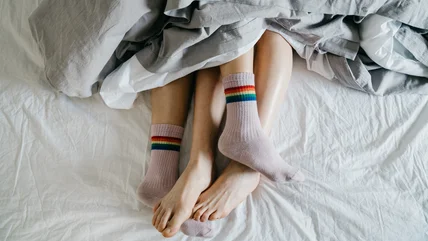
Read MoreOrgasms not only make for the perfect way to unwind but are also a fantastic (and natural!) alternative to sleeping pills.
Read MoreThe crochet trend is back in a big way, and Schuyler Ellers is at the forefront of this nostalgic movement.
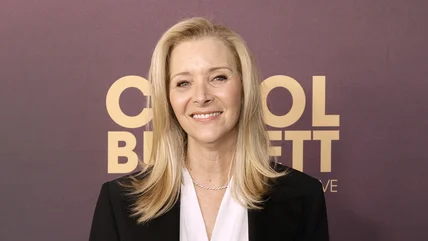
Read MoreHaving sex is a personal choice, and these famous folks remind us there's no shame in waiting until later in life to do it.
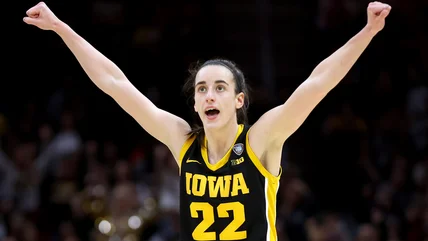
Read MoreFemale athletes have long endured a gender pay gap, but pro basketballer Caitlin Clark could help change that, with all eyes on her WNBA salary in 2024.
Read MoreThe only problem with so many pedicure options is figuring out how to try every color before 2024 draws to a close.
Read MoreIf you're a fan of style and comfort, there's nothing better than a breezy summer dress. Here are some of the easiest trends to try in 2024.
Read MoreFrom ruby red to ballet slipper pink, these polish shades are regular favorites at Buckingham Palace.
Read MoreFrom impossible love stories to a highly-anticipated punk girl memoir, here are the titles we can't wait to read next month.
Read MoreFashion is so much more than being on trend; it's how we communicate who we are to others. Here's what to avoid if you want to make a good first impression.
Read MoreOver the years, Kegel exercises have gone from preventing incontinence to being an asset for better sex lives. But is there any truth to that?
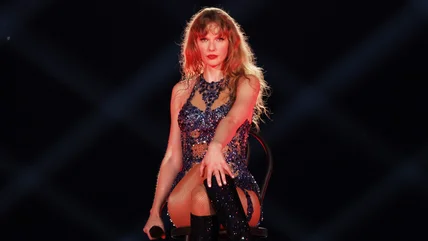
Read MoreIf there's one person who makes street style look effortless, it's Taylor Swift. Here's how you can recreate some of her trendiest looks.
Read MoreAs beneficial as it can be, when it comes down to it, engaging in penetrative sex can put your body through the wringer.
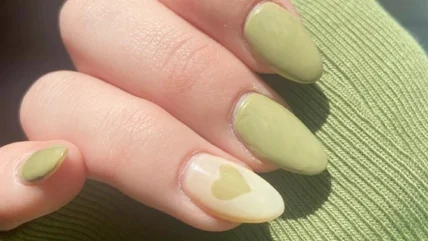
Read MoreThe trendy take on green nails evokes the bright, refreshing quality of delicious mint and matcha. Here are our favorite variations to try.
Read MoreSoaking is more about the journey than the destination, but its roots are pretty sexist. Should you even be soaking at all?
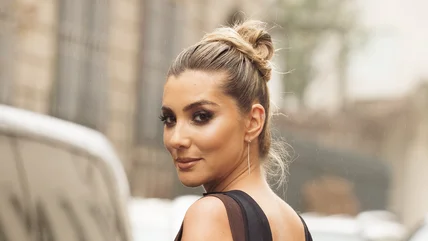
Read MoreIf you're searching for a new look in 2024, consider going luminescent blonde for the ultimate hair glow-up.
Read MoreGetting your first short haircut can be a freeing experience, but how can you tell if it's right for you? Hairstylists have the answer.
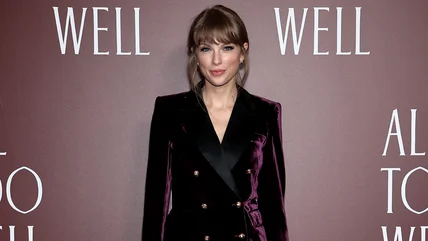
Read MoreTaylor Swift's highly anticipated 11th album is expected to deliver a new dark academia aesthetic and plenty of literary references. Here's what we know so far.
Read MoreIf you want smooth, long-lasting nails, then it's important to remember that the application process involves more than just polish.
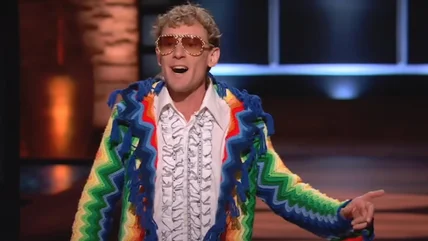
Read MoreBauble and Sole's customizable shoes may have been a fun idea, but it failed to secure a deal in the tank. Here's where the business is today.
Read MoreSure, makeup is personal, but certain fads aren't meant to last forever. Here are all the trends to avoid in 2024 if you don't want to look dated.
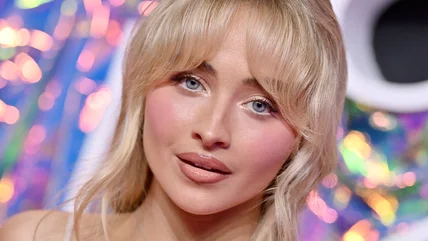
Read MoreThe key to making the vintage fringe look effortless is to get a hairstyle that makes them look seamless. Here are our favorites to try.
Read MoreThis modern look combines the polished, femininity of coquette with the rugged, laid-back vibes of cowgirls on the prairie. No horse required.
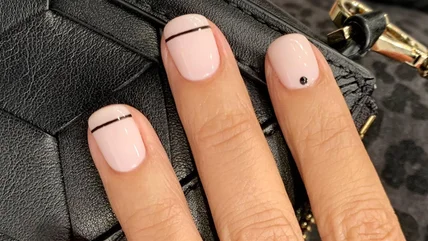
Read MoreThis take on the classic manicure features a minimalist twist. Here are our favorite ways to try the trend.
Read MoreFrom Americana-inspired aesthetics to big, bold balloon skirts, this summer is about combining the rugged with the delicate. Here are the best trends to try.
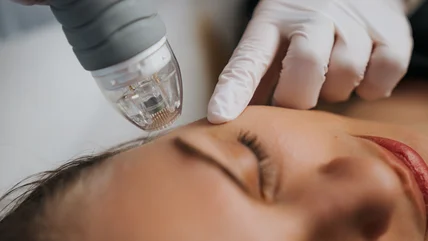
Read MoreWhile microscopically slicing and dicing your skin sounds a bit intense, the results make it noticeably worth it.
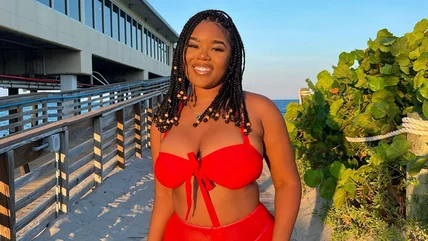
Read MoreIt looks like everyone's favorite lipstick shade has officially become the go-to bikini color for 2024.
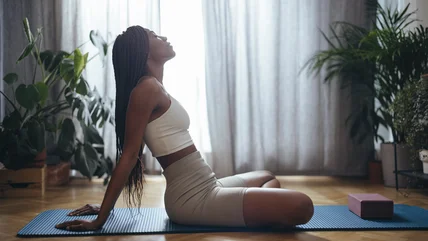
Read MoreIf you're looking to give your sex life a little kick, grab a mat, take a deep breath, and get ready to open those hips.
Read More